B1CD01K1 - 406D9 XU7 INJECTION XU5 INJECTION
CHECK LINER PROTRUSION
1 - SPECIAL TOOLS
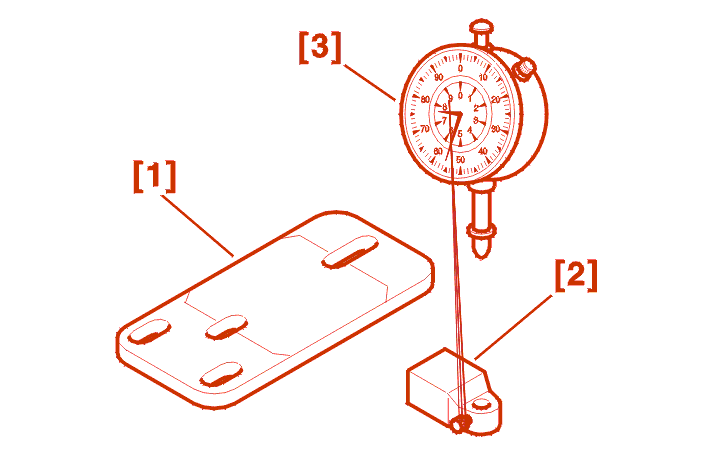
| reference | description | reference | reference |
|---|---|---|---|
| [1] | liner protrusion measuring plate | (-).0132-B | 1132 - T |
| [2] | dial gauge support | (-).0132-C | 1132 - T |
| [3] | dial gauge | (-).1504 | 2437 - T |
2 - CHECK LINER PROTRUSION
NOTE : if the liners are reused, position them in relation to the cylinder block, aligning the marks made on removal .
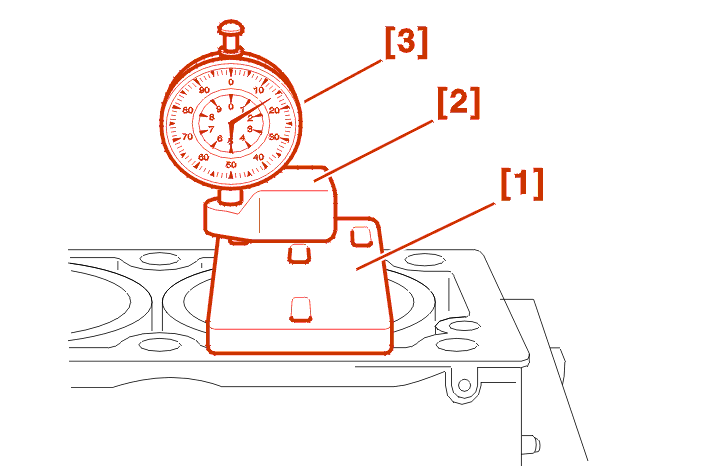
Fit :
Fit the dial gauge [3] on the bracket [2] .
3 - CHECK THAT THE LINERS ARE FLAT
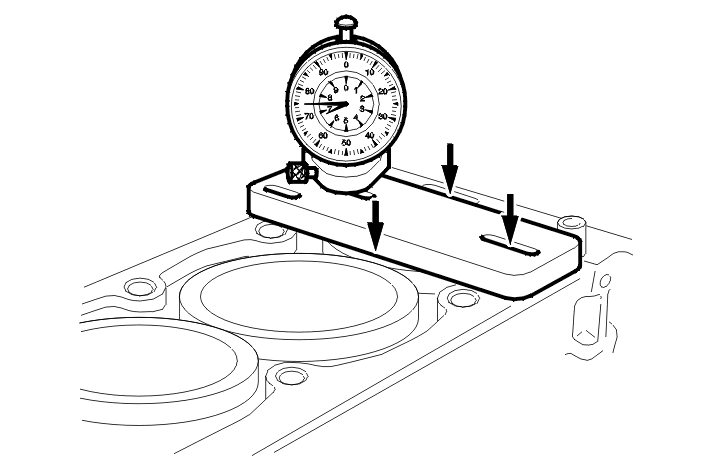
Zero the dial gauge .
Carry out a check at four points on the liner .
The difference should not exceed 0.02 mm, if it does, eliminate the cause .
4 - CHECKING THE DIFFERENCE IN LEVEL BETWEEN THE LINERS
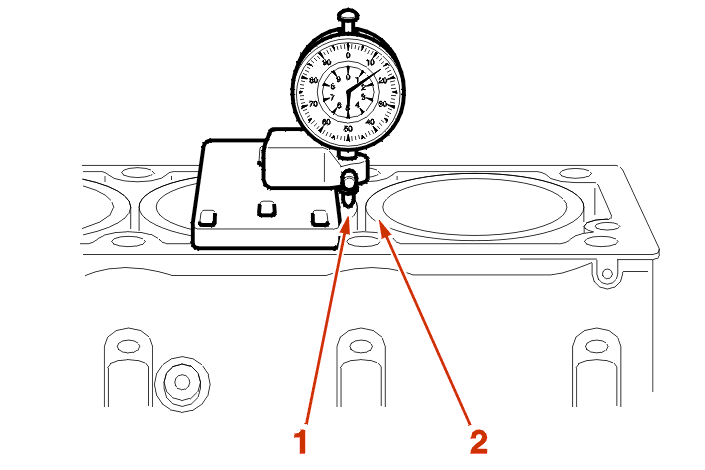
Measure the protrusion of both liners at points (1) and (2) .
The difference should not exceed 0.05 mm, if it does, eliminate the cause .
5 - CHECKING THE LINER PROTRUSION IN RELATION TO THE CYLINDER BLOCK
Check the flatness of the cylinder block .
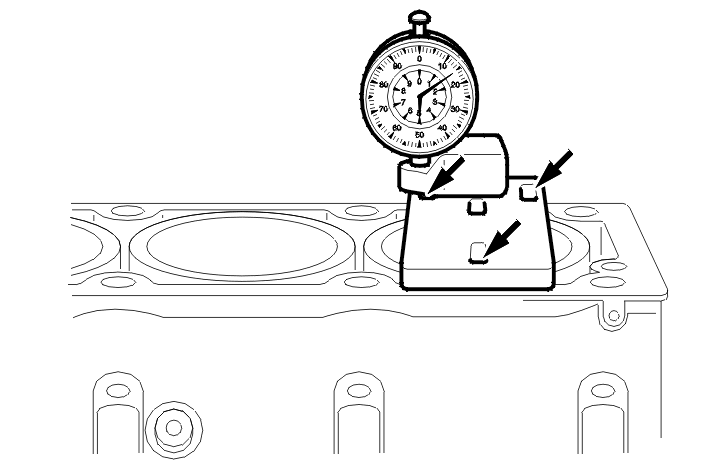
At three points, check the protrusion of each liner in relation to the cylinder block .
The liner protrusion should be between 0.03 and 0.10 mm .
Definitively mark the order and direction of the liners in relation to the cylinder block .
Position the base seals .