B2CG1BK1 - 406D9 ML5T GEARBOX
REMOVAL - REFITTING GEAR LEVER WITH CABLES
1 - SPECIAL TOOLS
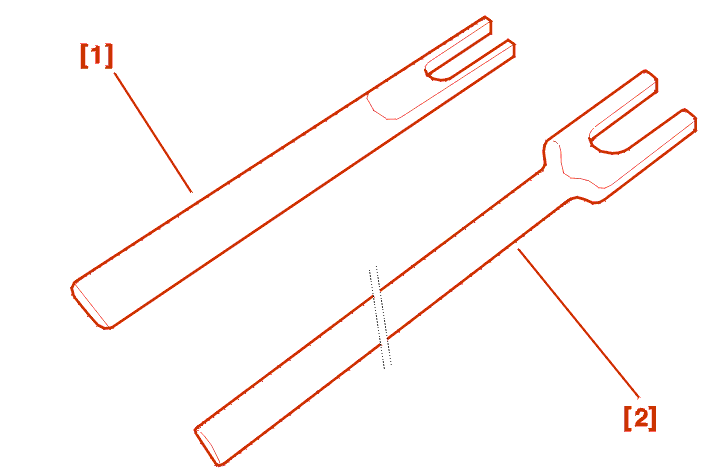
[1] Tool for unclipping 10 dia. ball joints (-).0216-G1 .
[2] Tool for unclipping 13 dia. ball joints (-).0216-G2 .
2 - REMOVAL
IMPERATIVE : remove the exhaust pipe to avoid destroying the flexible hose; this does not withstand the torsion, traction or bending stresses caused by removal of one of the exhaust pipe brackets .
Remove the metal heat shield .
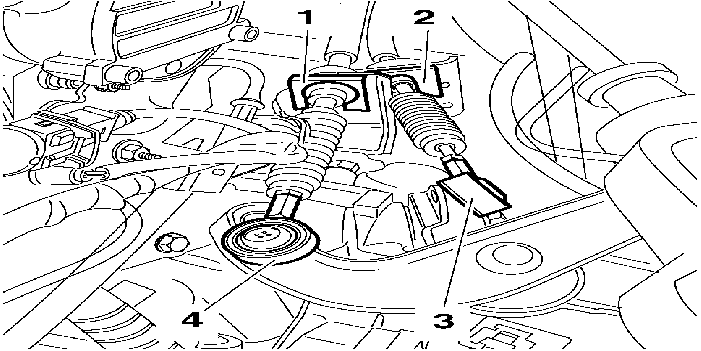
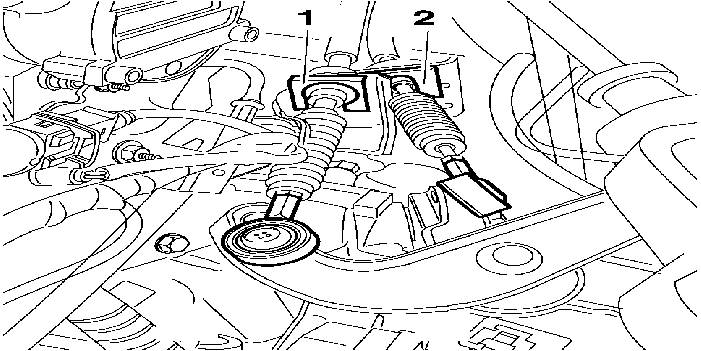
Remove the clips (1) - (2) .
Using the tool [1] Unclip the ball joint (3) dia. 10 .
Using the tool [2] Unclip the ball joint (4) dia. 13 .
WARNING : pressure must be applied to the tools to unclip the ball joints; they must not be used as levers as this may bend the connecting rods .
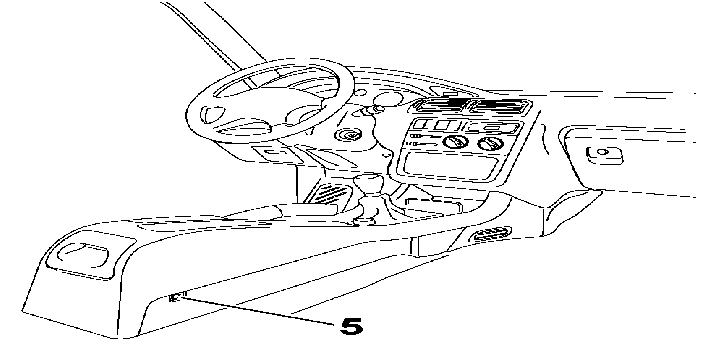
Move the front seats fully forwards .
Remove the fasteners (5) .
Move the front seats fully backwards .
Disconnect the battery .
Remove the left and right sound insulation from under the fascia .
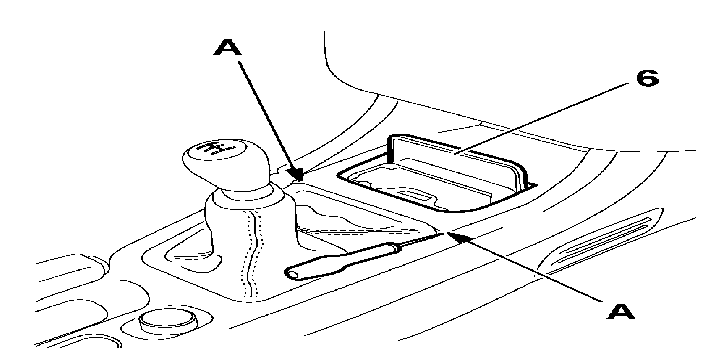
Open the ashtray cover (6) by pressing the top .
Insert a screwdriver blade at points (A) .
Unclip the ashtray and coin tray base assembly by pulling upwards .
Unclip the ashtray lamp .
Remove the coin tray base assembly .
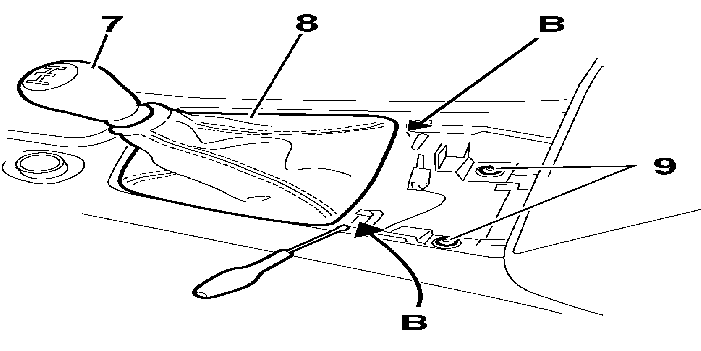
Unclip the gear lever gaiter assembly at points (B) using a screwdriver blade .
Remove :
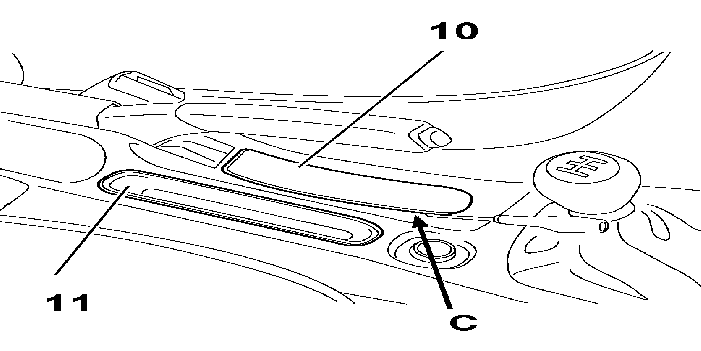
Unclip the handbrake lever aperture cover (10) using a screwdriver at points (C) .
Raise the console from the rear .
Unclip the switch bracket (11) .
Disconnect the electrical connections (according to specification) .
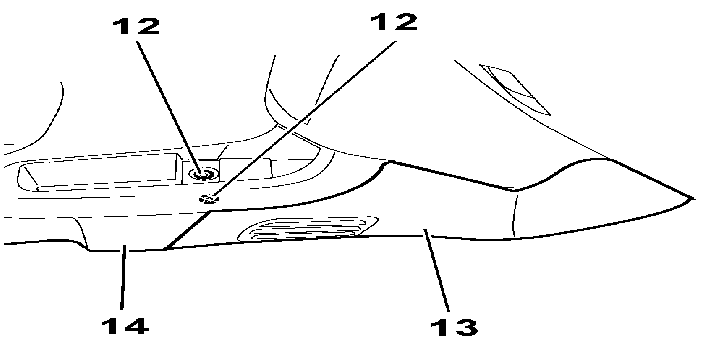
Remove the fasteners (12) .
Unclip the front of each flange by pulling upwards .
Unclip the pins on each flange .
Remove the flanges (13) .
Remove the floor console (14) .
Remove the sound-proofing shim .
Remove the gear lever assembly .
3 - REFITTING
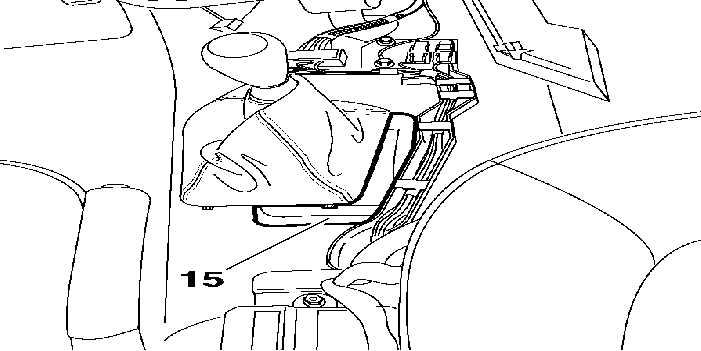
Refit the lever housing Tighten the bolts to 0.7 da.Nm .
IMPERATIVE : check that the sound-proofing shim (15) is positioned correctly .
Proceed in the reverse order to removal .
Fit new securing clips (1) - (2) .
IMPERATIVE : the securing clips must always be changed following each removal operation .
Check that the clips (1) - (2) are correctly positioned .
Carry out a gear change test .
Check that the electrical accessories operate correctly .