B2CH0FK1 - 406D9 4HP20 AUTOMATIC GEARBOX
REPLACEMENT MULTI-FUNCTION SWITCH
1 - SPECIAL TOOLS
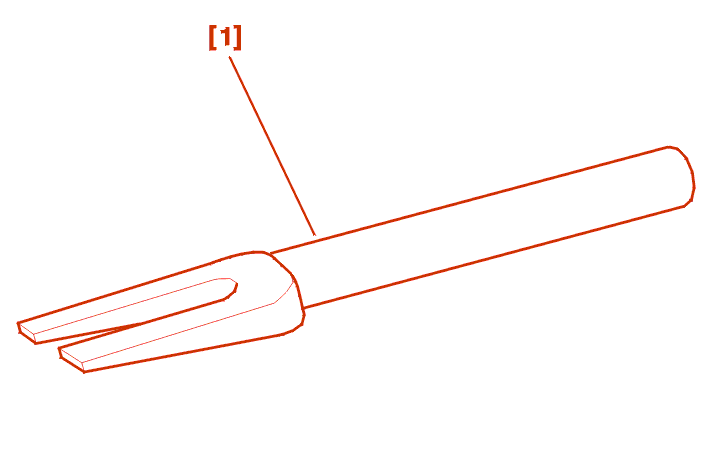
[1] ball joint extractor (-).0336.G .
2 - REMOVAL
Remove :
Place the gear selection lever in position N .
Unclip the selector lever (3) Using the tool [1] .
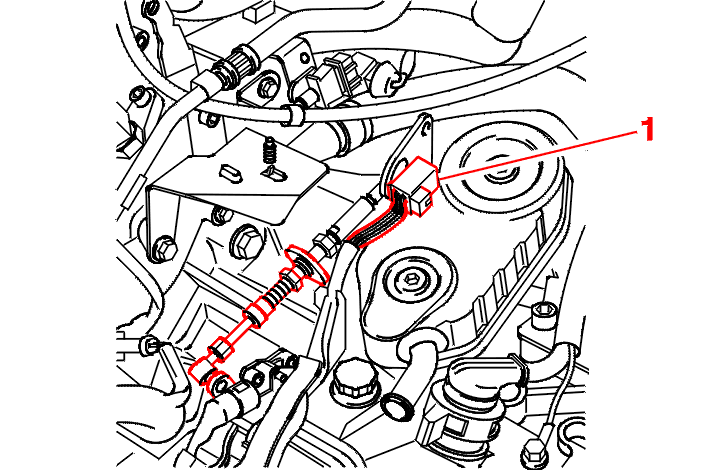
Disconnect the connector (1) .
.
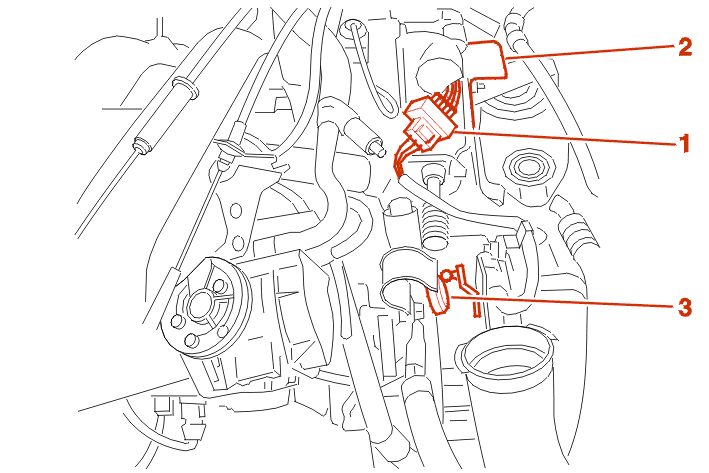
ES9J4 ENGINE
Remove :
Place the gear selection lever in position N .
Disconnect the connector (1) .
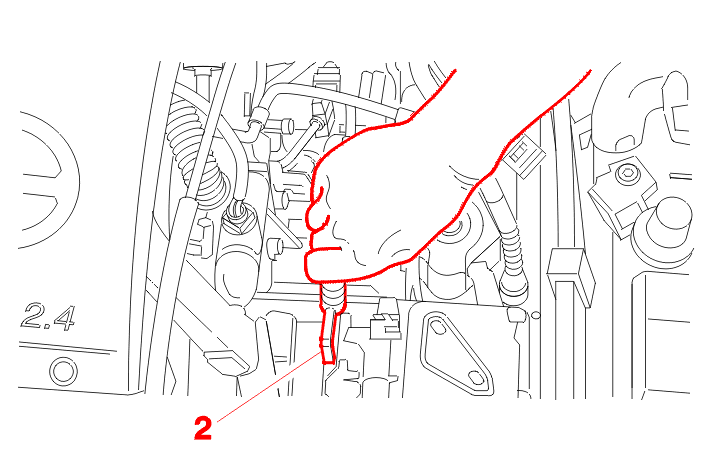
Unclip the selector lever (2) (Using the tool [1]) .
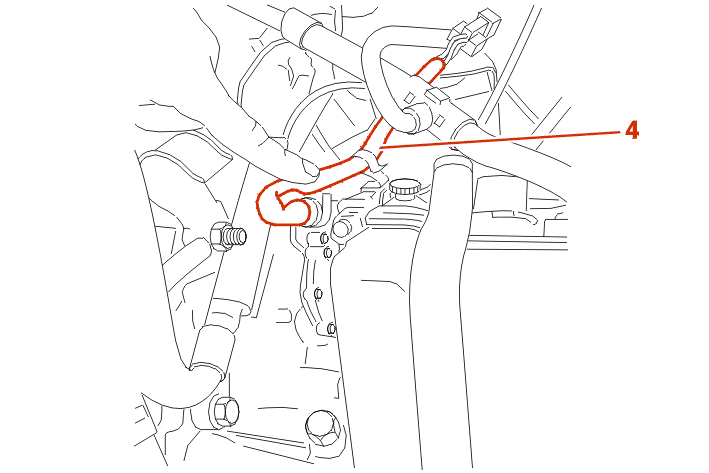
ALL MODELS
Unclamp the harness (4) .
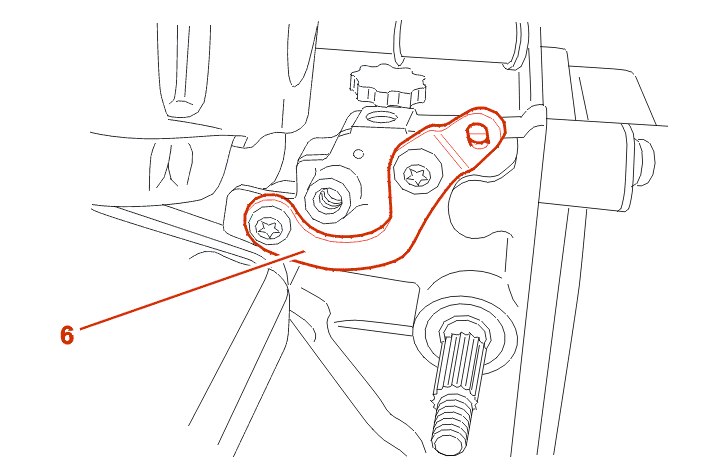
Remove the rod (5) .
Remove the multifunction switch (6) .
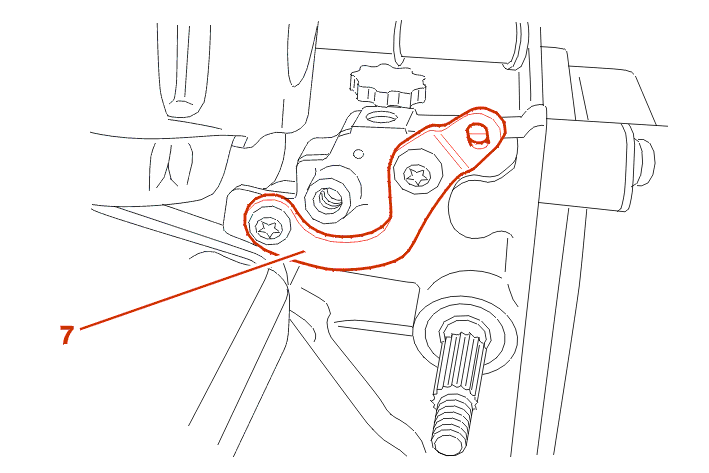
IMPERATIVE : the adjusting plate (7) on the automatic gearbox must never be removed, as if it is the correlation between the automatic gearbox selector position and the electrical reading cannot be guaranteed .
.
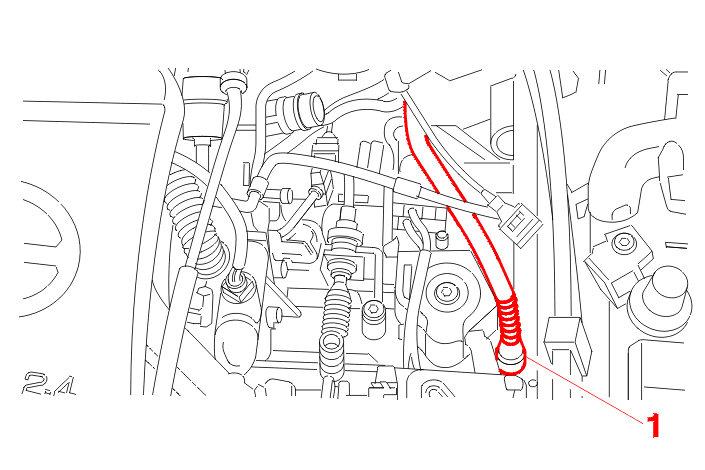
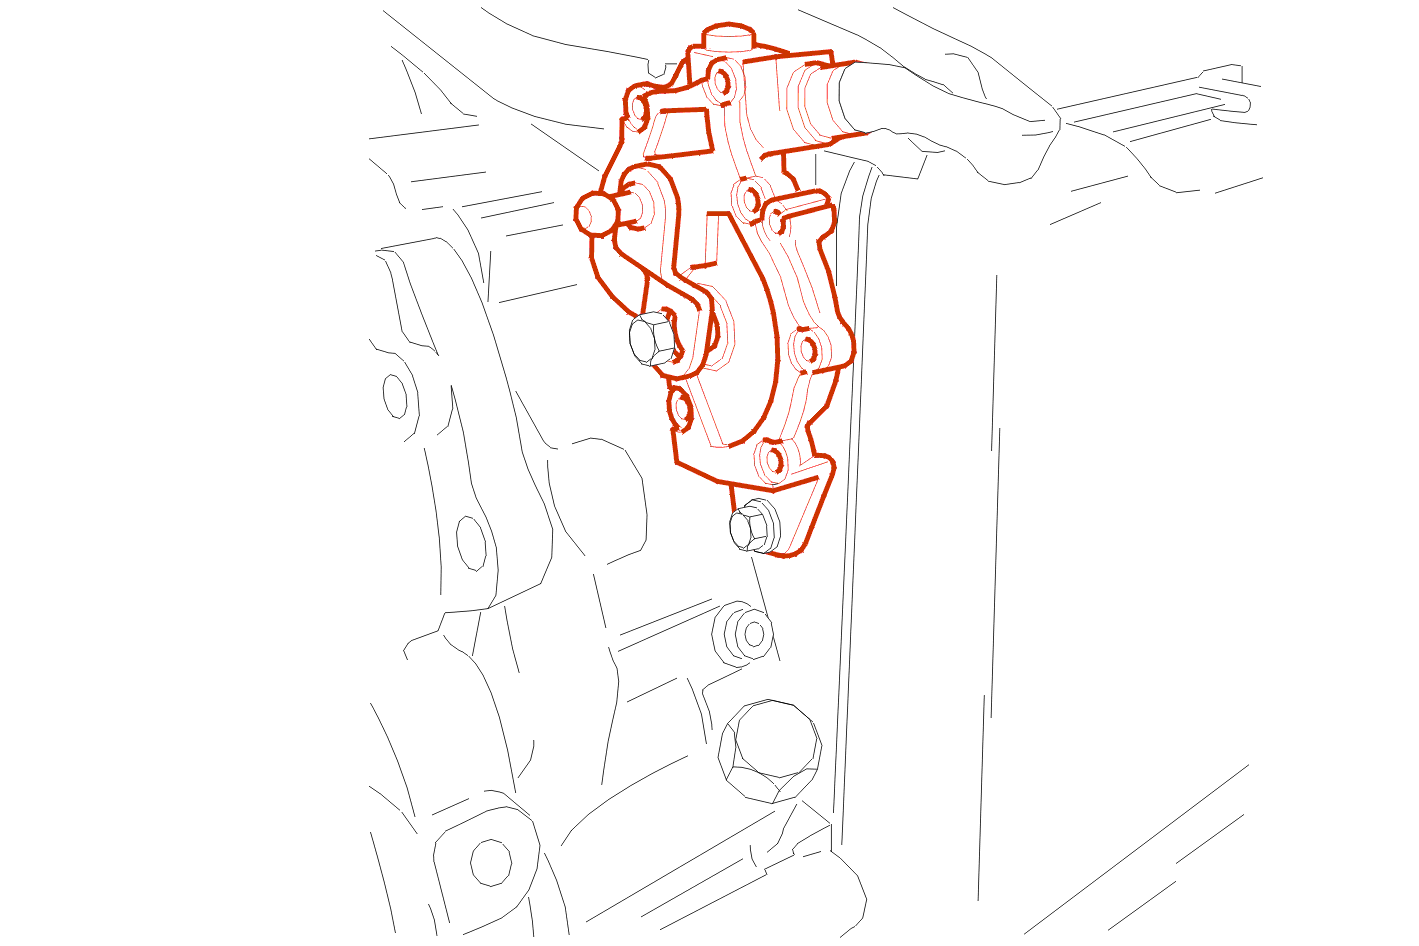
ES9J4 ENGINE
Remove the air inlet hose .
Place the gear selection lever in position N .
Unclip the gear change cable (Using the tool [1]) .
Disconnect the connector (1) .
Unclamp the harness .
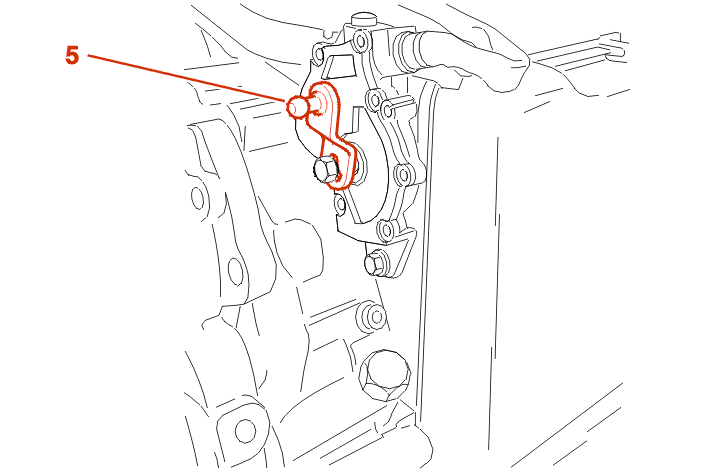
Removal :
IMPERATIVE : do not remove the plate (6) .
ALL MODELS
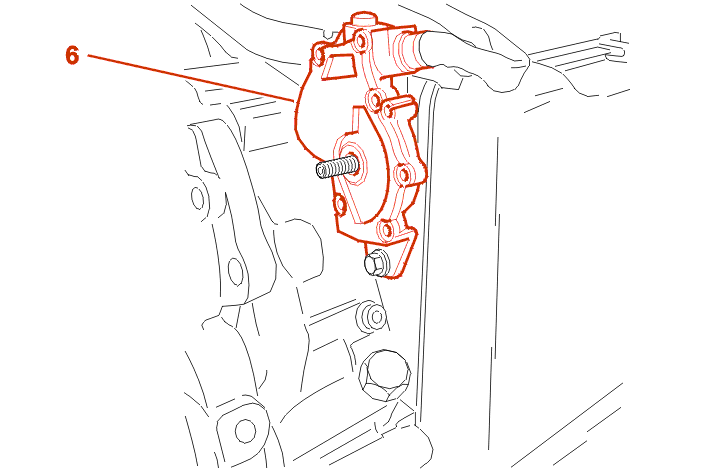
3 - REFITTING
NOTE : the switch is positioned by inserting the centralising pin in the adjusting plate .
Precautions to be taken :
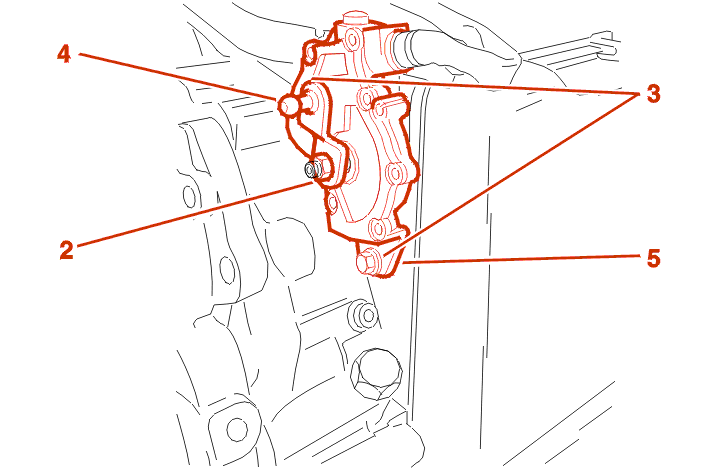
Fit :
Securing nut torque = 2,1 da.Nm .
WARNING : support the selector rod while tightening (risk of the slide valve in the hydraulic block being broken and not being in position N in the event of rotation) .
Clip the electrical harness .
Refasten the connector .
Proceed in the reverse order to removal .
Check that the lever position corresponds to the fascia display .